
A tiler mixes a bucket of mortar, combs it onto a wall, and stops to cut a tile around an outlet. When the cut is ready, the mortar in the bucket still stirs easily. The ridges on the wall still look intact. Yet when the tile is pressed into place and lifted for a check, very little mortar has transferred to its back.
This is one of the most useful things to understand about cementitious tile adhesive. Once the powder is mixed with water, the mortar has a limited working life in the bucket. Each patch spread onto the wall has its own window for receiving a tile. To see why those two windows differ, start with what goes into the bag.
Оглавление
- Why cementitious tile adhesive comes as a powder
- How the factory makes a consistent dry mix
- Pot life and open time start at different moments
- What to check before laying the next tile
- What the environmental documents tell you
- Часто задаваемые вопросы
- Plan the job around the spread area
1.Why Cementitious Tile Adhesive Comes as a Powder
In a one-part cementitious tile adhesive, the factory blends the ingredients dry. The installer adds water on site. That timing matters because water starts cement hydration, the chemical reaction through which cement sets and develops strength. Once the powder is mixed, the mortar begins to change even while it is sitting in the bucket. American Cement Association explanation of cement hydration
A polymer-modified formulation typically combines several materials with different jobs:
- Cement provides the hydraulic binder that hardens after water is added.
- Graded aggregates and mineral fillers form much of the mortar’s body and help determine how it handles under the trowel.
- Redispersible polymer powder disperses again when water is added. Manufacturers can use it to modify adhesion and other properties of the hardened mortar.
- Cellulose ethers can help the fresh mortar retain water and remain workable. When mortar is combed into thin ridges on an absorbent wall, that water retention matters to how long the spread surface stays receptive to a tile.
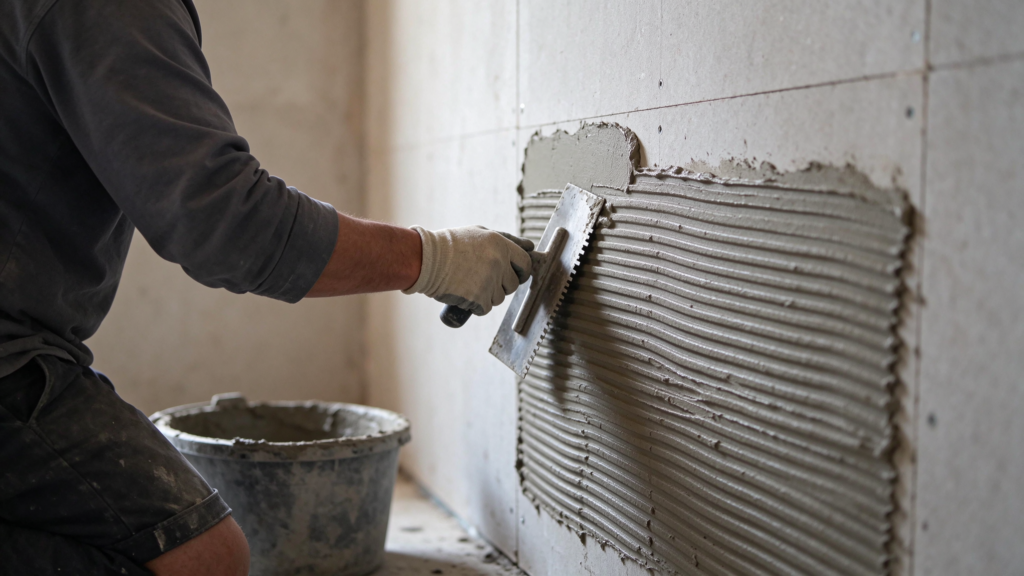
Together, these ingredients have to satisfy two demands that anyone laying wall tile can see. The mortar needs to spread under the trowel, and the ridges need to hold their shape once the trowel has passed. The formulation also has to support the bond after the mortar hardens.Dow on water retention and workability in tile adhesive
2.How the Factory Makes a Consistent Dry Mix
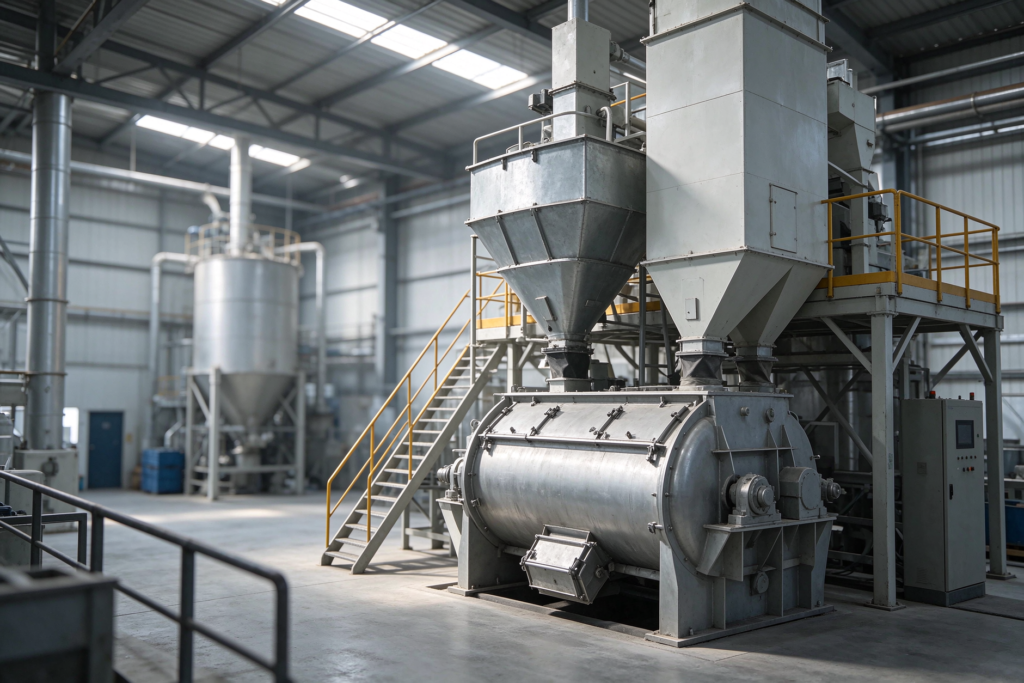
A published manufacturing example comes from the environmental product declaration for Mapei Keraflex Quick White. At the plant described in the declaration, bulk raw materials are stored in dedicated silos and automatically dosed into the mixer. Other ingredients arrive in smaller packages or containers and are added according to the formula. The plant mechanically blends the materials in batches, packs the product, places the bags on pallets, and checks finished-product quality before sale. This example describes how a dry-mix plant operates. The installation timings later in this article come from a separate Keraflex Maxi S1 data sheet.
Consistency matters at two points. The weighing system has to put the right amounts into the mixer, and the mixer has to distribute those ingredients through the batch. A small-dose additive that helps the mortar retain water needs to be present throughout the blend so that installers get comparable handling from bag to bag. Mixing conditions matter too. WACKER’s instructions for one redispersible polymer powder caution that excessive temperature rise during dry mixing can make the powder clump. A plant establishes its mixing conditions around its own materials, equipment, and batch size.
A useful quality check follows the product into use. Mix a sample with the specified water amount, examine how it spreads, and test the properties claimed for the product under documented conditions. For an extended-open-time claim, the question is whether tile embedded after a specified delay still reaches the required tensile adhesion in the test. The visual check during installation and the adhesion test after hardening each answer a different question.
3.Pot Life and Open Time Start at Different Moments
Pot life is the period during which the prepared mortar remains usable after mixing. It applies to the batch in the bucket under the stated conditions. Follow the product instructions for water quantity, mixing and any specified rest and remix steps.
Open time starts when the installer spreads the mortar onto the substrate. It is the interval during which a tile can be embedded into that spread layer and still achieve the bond required by the test. The exposed ridges can lose water to the air and to an absorbent substrate. Their surface can form a skin. The ridges may still look well defined as the skin reduces the mortar’s ability to wet the back of the tile.
The UK technical sheet for Mapei Keraflex Maxi S1 lists a pot life of over 8 hours and an open time of over 30 minutes in its application data at 23°C and 50% relative humidity. It also lists different water ratios for the grey and white versions. The grey version calls for 25–27 parts water per 100 parts powder by weight. These figures belong to that version of the technical sheet. Use the instructions for the exact product and market printed on your bag.
On a real job, the two timing windows overlap. Suppose you mix a batch at 9:00, spread one patch at 9:10 and a second at 9:25. The patches come from the same bucket, but the first has already been exposed for 15 minutes when the second is spread. A hot surface, direct sun, moving air or a highly absorbent substrate can shorten the usable window on the wall. Plan the size of each spread around the actual pace of cutting and placing tiles.
4.What to Check Before Laying the Next Tile
At the start of the job, check the product’s substrate and tile requirements, water ratio, and application conditions. Prepare the substrate as directed. Mark out awkward cuts and openings before combing mortar onto the surrounding area. A feature wall with several outlets may call for a smaller spread area than a clear stretch of wall.
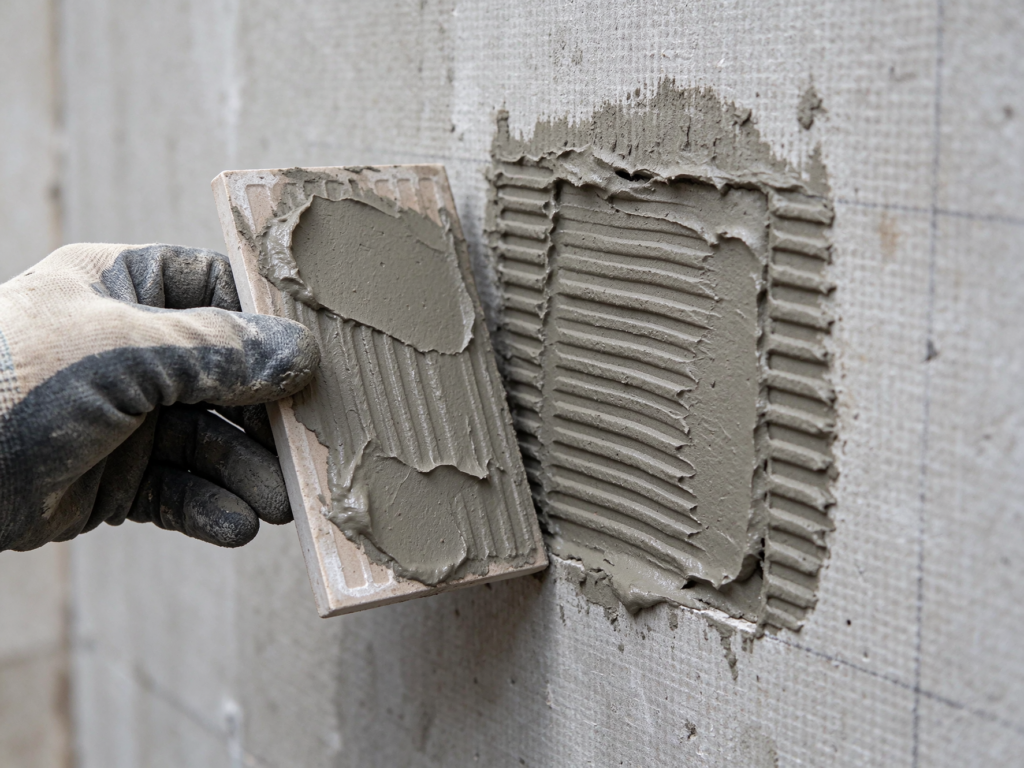
Lift a freshly placed tile during setup to see how well the mortar has transferred to the back. This gives you an immediate check on contact. If transfer is poor, check how long the mortar was exposed, whether the trowel suits the tile, and whether the tile was properly embedded. Follow the product and installation instructions for the required coverage. Where a surface skin has formed, follow the product’s directions for correcting that area before continuing.LATICRETE trowel and tile coverage guidance · Mapei instructions on surface skinning
Also look for adjustment time and the separate instructions on grouting and traffic. Adjustment time concerns moving a tile after it has been placed. Time to grout or walk on a floor concerns a later stage of hardening. At a glance, a data sheet can show several durations side by side. Pair each duration with the action that starts it and the decision it controls.
5.What the Environmental Documents Tell You
Dry powder handling is the first point to examine. In the factory, powder transfer and bag filling are places to check dust collection. On site, opening and pouring the bag and mixing the powder are the relevant handling steps. Use the product’s safety data sheet to identify its hazards and the controls applicable to the task, including those for respirable crystalline silica where present. A low-dust claim describes a handling characteristic. The safety data sheet is where you check handling precautions.
For indoor emissions, look for test results or a classification for the exact adhesive. GEV’s EMICODE method places a prepared sample in a controlled test chamber and takes air samples at defined times, including 3 and 28 days. The result describes the tested product under those conditions. For life-cycle questions such as embodied carbon, use an environmental product declaration and check what the declared unit and life-cycle stages cover. This is especially important when products require different amounts of mortar per square metre.
6.Frequently Asked Questions
Can I use the mortar on the wall as long as some of it is still workable in the bucket?
Check the wall patch against the product’s open-time guidance and the site conditions. The spread layer has been exposed since it was combed out. A freshly lifted tile can show whether mortar is transferring adequately to the back.
Can I brush water onto a surface that has already formed a skin?
Follow the correction procedure for the product on the job. The Keraflex Maxi S1 instructions specifically advise against wetting a skinned surface. Work in smaller areas when cuts or interruptions are likely to delay tile placement.
What does the E in C2TE S1 tell me?
It identifies extended open time under the relevant classification test. Read the individual product data sheet for the test result, the approved applications and the site instructions.
7.Plan the Job Around the Spread Area
Before tiling, check the water ratio, pot life, and open time on the product data sheet. Mix what you can use within the pot life, and spread only as much mortar as you can cover while it still transfers well to the tile. Near outlets or corners, prepare the cuts first and lift an early tile to check how much mortar has transferred to its back.
The same attention to the bonding surface matters in paperboard packaging. On a folding carton, the adhesive may meet bare paperboard, a printed surface, or a coated finish at the seam. Taiwei’s guide shows how printing, finishing, folding, and gluing fit into carton production. Read Taiwei’s Folding Carton Packaging Guide
If you’re developing a custom folding carton, share the box style, paperboard finish, and where the glued seam will sit so those details can be reviewed together during sampling. Contact Taiwei to Discuss Your Carton Sample